Looking for a quick, fun, and beginner-friendly crochet project? These super soft and fluffy velvet scrunchies are just the thing! Perfect for gifting, selling at markets, or simply adding a stylish touch to your own hair accessories collection, this easy crochet pattern can be customized in countless ways.
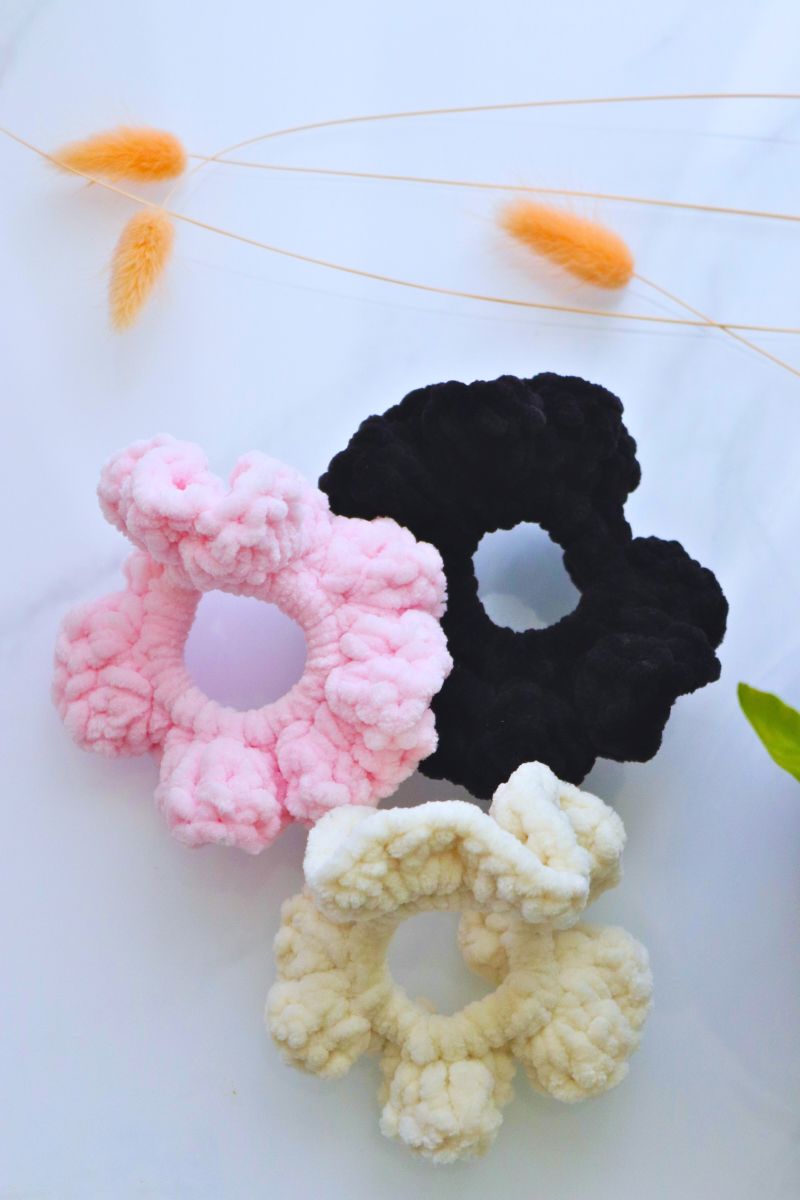
You can adjust the size of these velvet crochet scrunchies by changing the hair tie, yarn weight, or hook size—making it great for experimenting with different textures and colors. I used a cozy velvet yarn from the Swedish brand Panduro, but feel free to use any velvet yarn or bulky yarn you have on hand—just be sure to match your hook to the yarn weight for the best results.
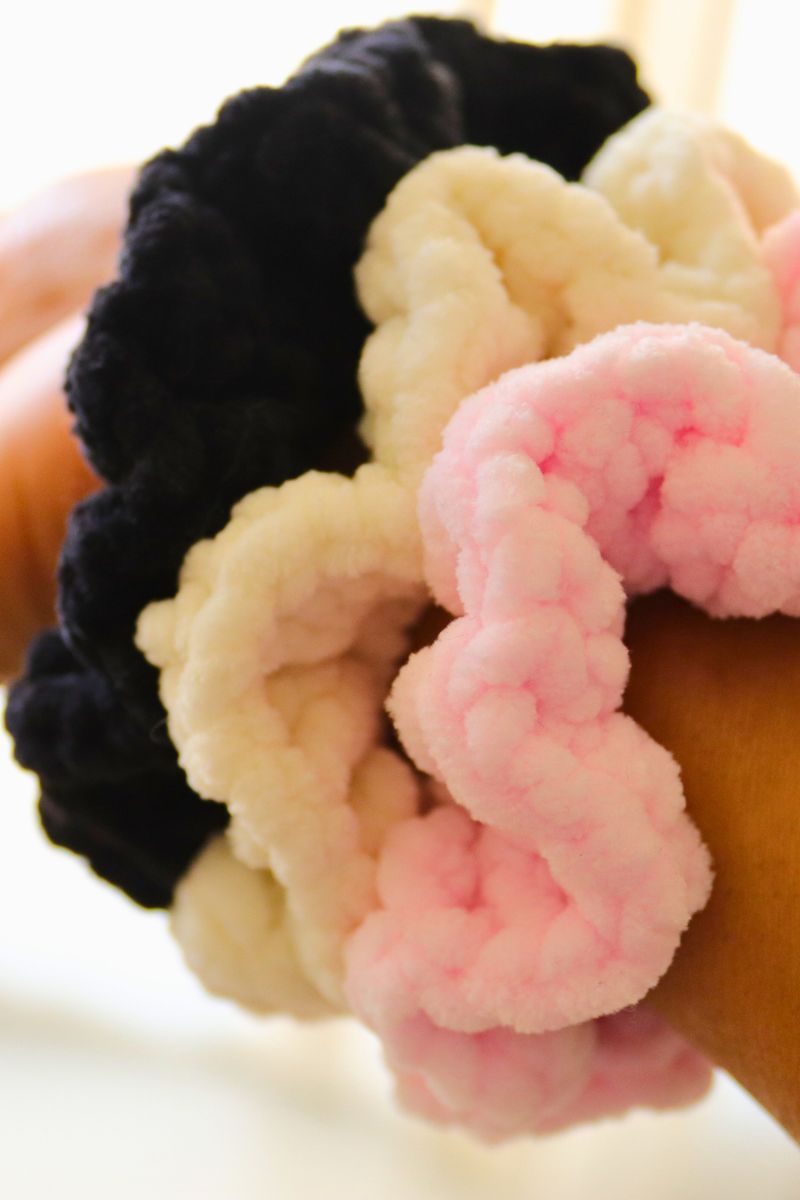
Even if you’re new to crocheting, you’ll love how quick and satisfying this project is. Each scrunchie takes less than 30 minutes to make, and once you start, you’ll want to make a whole collection. The best part? They’re completely customizable—stylish, soft, and totally you!
Materials & Tools
- Yarn: Soft Velvet Yarn by Panduro
- Crochet Hook: 4mm
- Hair Elastic Band
- Scissors
- Tapestry Needle
Yarn Substitues
- Bernat Velvet Yarn
- Lion Brand Velvet Yarn
Pattern Notes
- When starting, work as many single crochets (SC) as possible around the elastic band. The stitches should be tightly packed to create a full, even base.
- The number of stitches in Row 1 may vary depending on the size of the hair tie and the weight of your yarn.
- You can easily customize this pattern by adjusting the yarn, hook size, or band—just make sure your stitches stay snug and even.
Yarn Notes
- You can use any velvet or bulky yarn you have on hand. Just be sure to match your hook size to the yarn weight for the best results.
- Velvet yarn is ideal for this pattern—it’s soft, gentle on the hair, and doesn’t snag or pull, making it both stylish and practical.
Terms & Abbreviations
- CH: chain
- HDC: Half Double crochet
- SC: Single crochet
FREE Pattern: DIY Crochet Velvet Scrunchie
Row 1:
Start by tying the yarn to the elastic hair band with a simple knot, leaving a short tail.
Work single crochets (SC) around the entire band, placing the stitches as close together as possible.
As you go, gently stretch the hair tie a few times to make sure the stitches are snug and packed tightly—this helps prevent gaps when the scrunchie is stretched in use.
Once you’ve covered the band with enough SCs, join with a slip stitch (sl st) to the first SC to close the round.
Chain 2. Do not turn your work.
Row 2:
Work 2 half double crochets (HDC) into each stitch around.
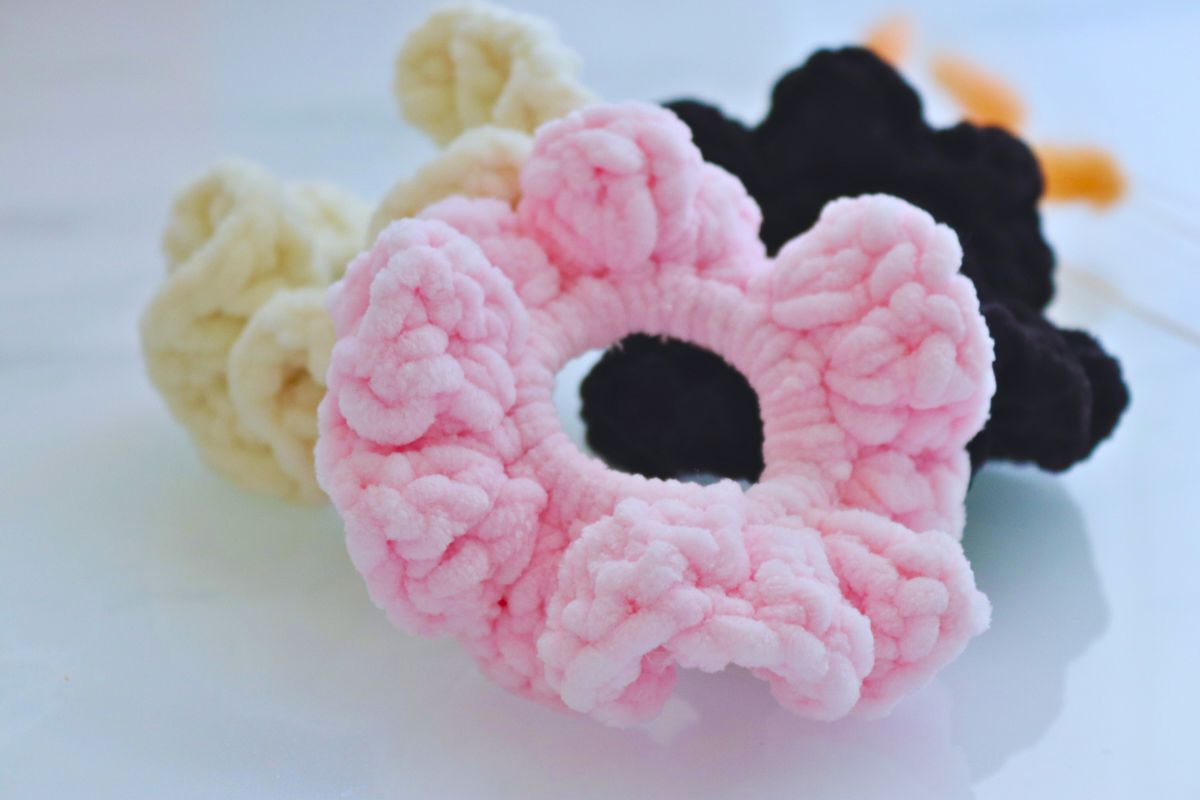
This will create the full, ruffled effect.
When you reach the end, join with a slip stitch to the first HDC to complete the row.
Finishing:
Use a crochet hook or tapestry needle to weave the yarn tail down through the stitches until it meets the starting tail.
Tie both ends together securely, but avoid pulling too tightly so you don’t cinch the scrunchie.
Weave in the ends, trim off any excess yarn, and you’re done!
Your soft, stylish velvet scrunchie is ready to wear or share!
I hope you enjoyed making this easy and quick crochet pattern.
📌 Pin this tutorial:
Love this project? Save it to your Pinterest boards so you can easily find it again later!
💬 Leave a comment:
I’d love to hear from you! Share your thoughts, questions, or feedback in the comments below.
📸 Share your creations:
If you make this scrunchie, don’t forget to tag me @theoliveyarn on Instagram or Facebook—I absolutely love seeing your finished pieces!
Selling & Sharing Policy
Feel free to sell the finished items you create using this pattern—just please credit @theoliveyarn and link back to this page when possible.
However, please do not copy, redistribute, or claim this pattern as your own. My photos are also protected and may not be used in listings or promotions.
Thanks so much for respecting my work and supporting handmade!

DIY Crochet Velvet Scrunchie
Learn how to make a soft, fluffy, and stylish velvet scrunchie with this easy crochet pattern for beginners! Using cozy velvet yarn and a simple hair tie, this fast and fun project is perfect for making handmade gifts, stocking up for craft fairs, or adding to your own accessory collection.
Materials
- Velvet yarn (any brand or color)
- Elastic hair tie
- Crochet hook (match hook size to yarn – typically 5.0–6.5 mm for velvet yarn)
- Yarn needle or tapestry needle
- Scissors
Instructions
Row 1 – Base Round:
- Attach yarn: Tie a simple knot to secure the yarn to the elastic hair tie. Leave a short tail.
- Single crochet (SC): Work SC stitches around the entire band, placing them tightly together.
- Stretch the band occasionally while working to ensure the stitches are close and even—this prevents gaps when the scrunchie is in use.
- Join with a slip stitch to the first SC.
- Chain 2 (do not turn your work).
Row 2 – Ruffle Round:
- Work 2 half double crochets (HDC) into each SC from Row 1.
- Continue all the way around.
- Join with a slip stitch to the first HDC to finish the round.
Finishing:
- Use a yarn needle or your hook to weave the working yarn tail down through the stitches until it meets the starting tail.
- Tie the two ends together with a small knot. Don’t pull too tightly—you want to keep the scrunchie’s shape.
- Weave in the ends and trim the excess yarn.
Your soft, fluffy velvet scrunchie is ready to wear, gift, or sell!